
StealthVPN on macOS with Cisco AnyConnect Secure Mobility Client
PrivateVPN.com offers an easy to use VPN application for macOS.
That being so, our VPN client is not updated with the new Stealth VPN protocols that we are testing in closed beta for example our new OpenConnect servers that are compatible with Cisco AnyConnect Secure Mobility Clients.
Let’s start!
Step 1
Latest version of Cisco AnyConnect Secure Mobility Client is available here.
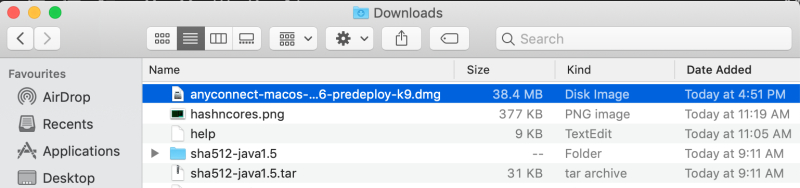
Navigate to Downloads folder and double click the anyconnect-macos (DMG) file.
Step 2
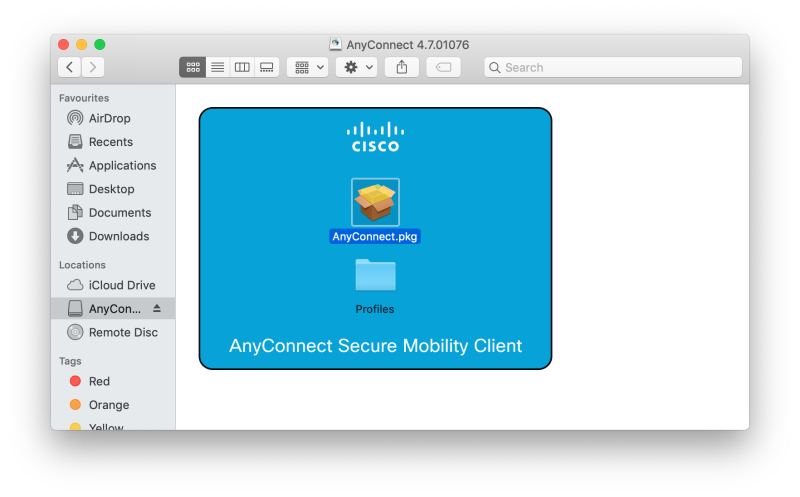
It would mount DMG image file, again double click on AnyConnect client icon there to begin the installation process.
Step 3
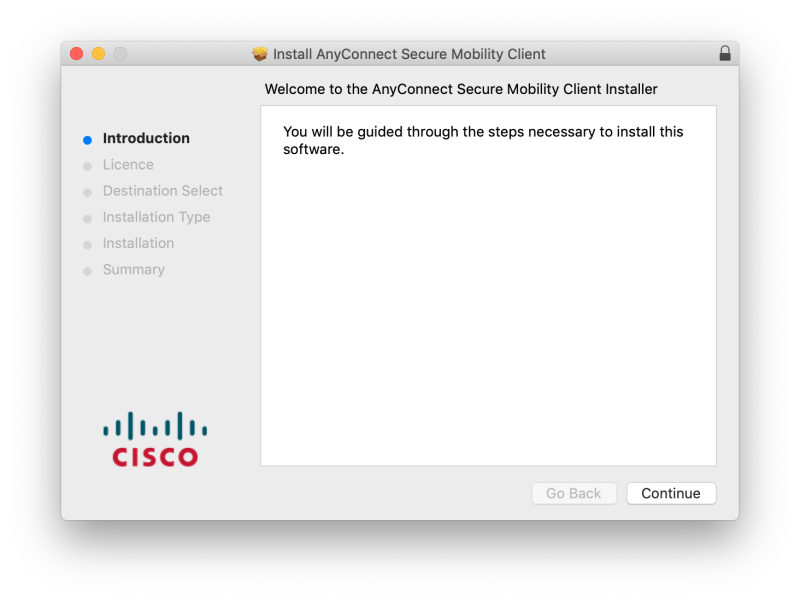
A dialogue box appears, click Continue
Step 4
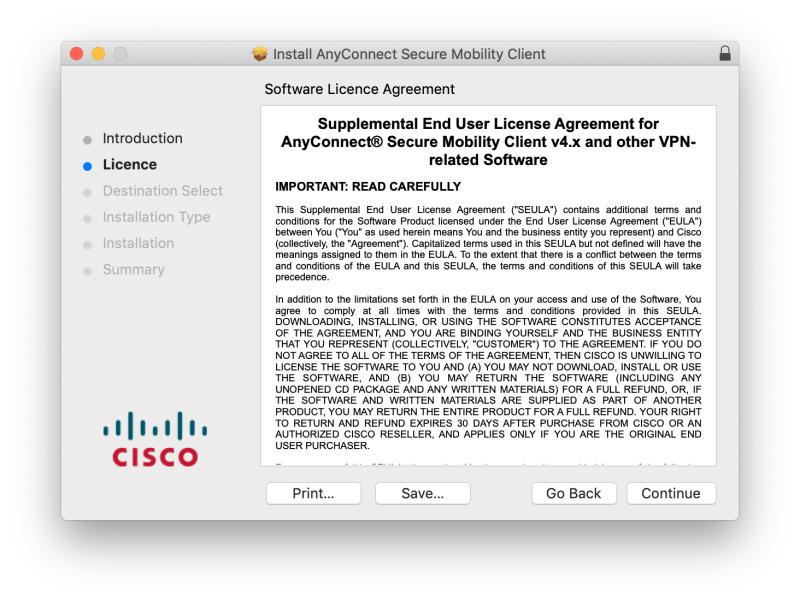
In this dialogue box accept the terms and click Continue
Step 5
In the following dialogue box untick all the other package name but VPN, click Continue.

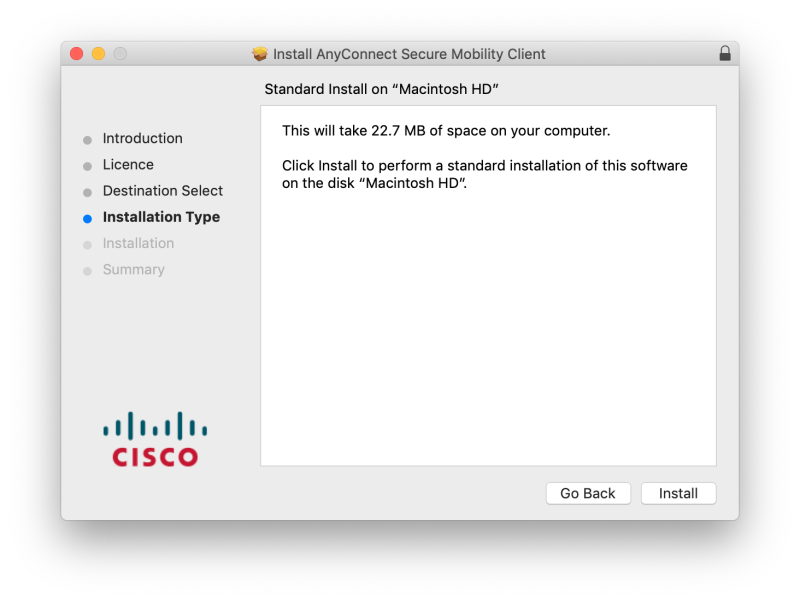
Step 6
Click Install to continue.
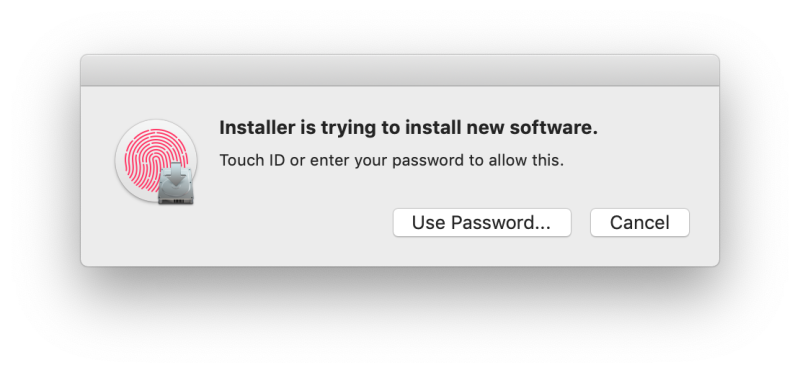
Step 7
Enter your Mac administrator credentials to continue.
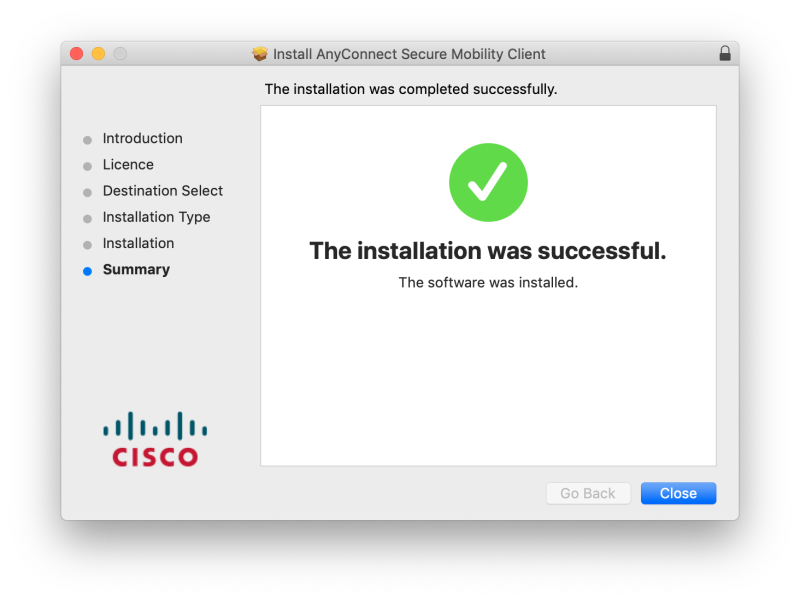
Step 8
AnyConnect VPN client is installed now. Click close.
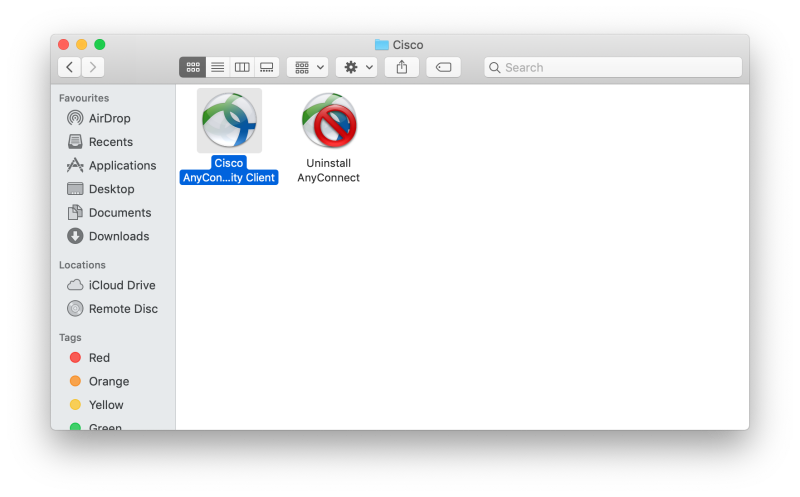
Step 9
Navigate to Applications – Cisco and open the AnyConnect client as follows
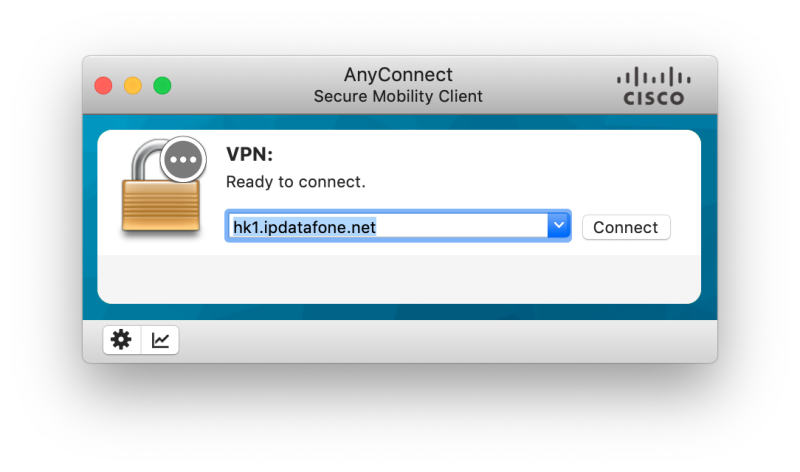
Step 10
Enter one of the following server addresses for the respective countries (more to come soon).
Hong Kong – hk1.ipdatafone.net
Japan – jp1.ipdatafone.net
Once done, click Connect
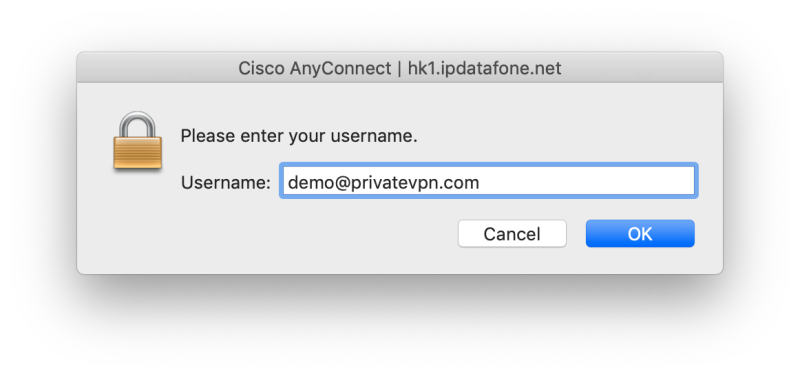
Step 11
Enter Your Credentials:
Login information required are as follows:
USERNAME = email address you used for signing up for an account at PrivateVPN.com
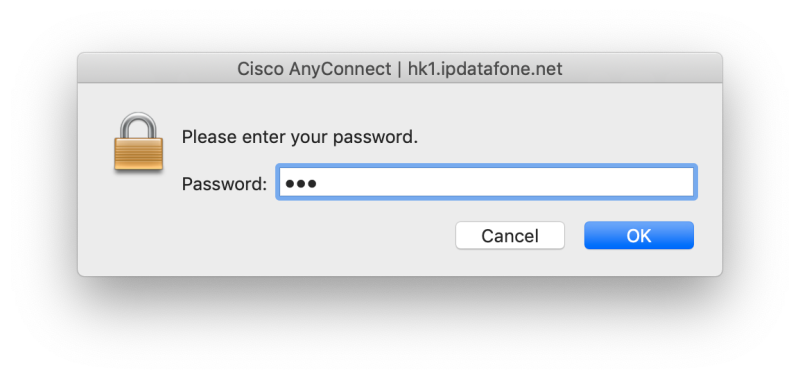
Step 12
PASSWORD = password you used when signing up PrivateVPN.com
Click OK
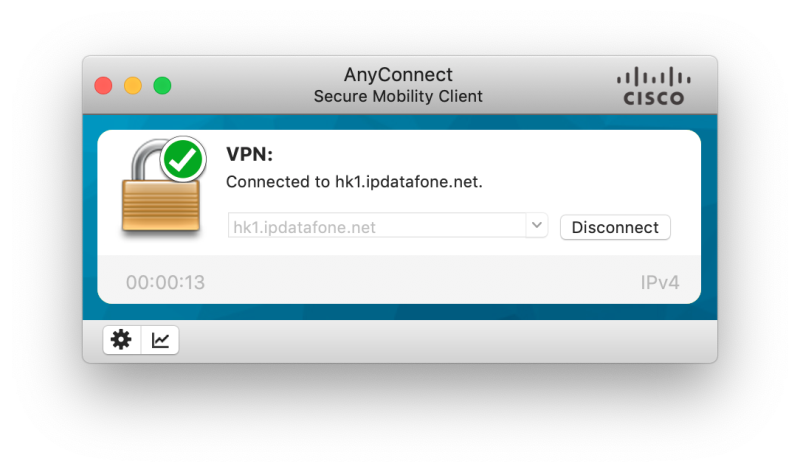
Connected
